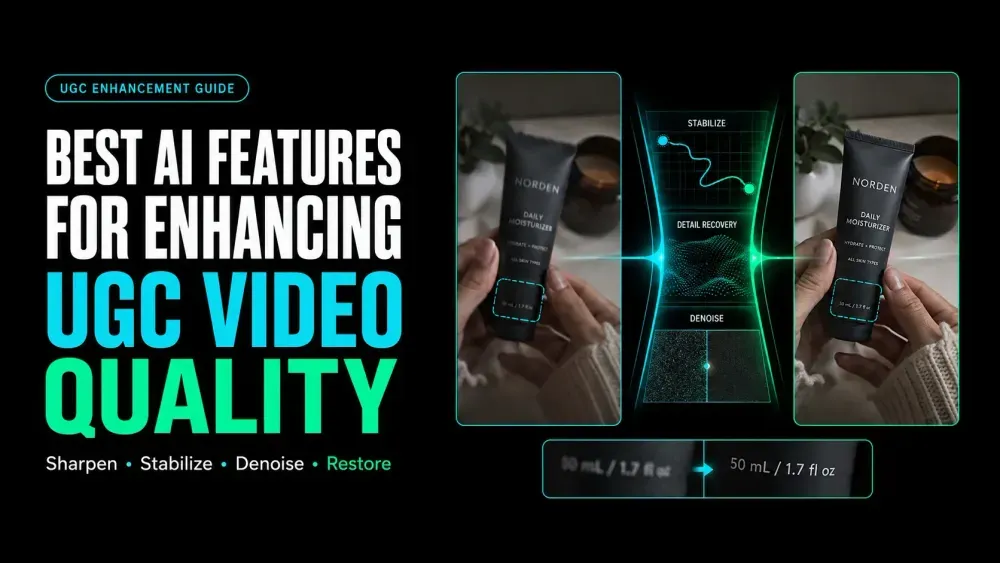
Best AI Features for Enhancing UGC Video Quality
On this page
A product label may look sharp while the speaker is standing still, then blur as soon as the package moves. The problem could come from motion blur, compression, low-light noise, or an enhancement setting that is too aggressive. The best AI features for enhancing UGC video quality solve a specific flaw without changing the rest of the clip.
Simply increasing the resolution won’t fix every problem. A better workflow keeps faces natural, product details recognizable, speech clear, and motion smooth on the screen where people will actually watch.
Diagnose the Real Quality Problem First
Watch the source at normal speed before opening an enhancement panel. Note where it becomes difficult to see, hear, or follow. This turns a soft label into a specific repair task.
| What you notice | Likely issue | First feature to test | Main risk |
|---|---|---|---|
| Small frame or visible pixels | Low resolution | Upscaling | Invented texture or hard edges |
| Colored grain in shadows | Sensor noise or compression | Denoising | Waxy skin and flat fabric |
| Distracting handheld movement | Camera shake | Stabilization | Cropping, wobble, or warped edges |
| Choppy movement or slow motion | Too few useful frames | Frame interpolation | Distorted hands, hair, or objects |
| Subject leaves a vertical crop | Aspect-ratio mismatch | Auto-reframing | Hidden product or captions |
| Voice competes with noise | Weak dialogue track | Audio cleanup | Metallic or overprocessed speech |
Use the original camera file when possible. A social download may already contain compression blocks, softened text, and reduced audio detail.
AI Features That Improve UGC Video Quality
AI video enhancement features solve different parts of the file. Applying one at a time keeps new artifacts traceable.
Resolution Upscaling and Detail Recovery

Upscaling increases the output dimensions and estimates detail between existing pixels. It can make edges easier to read, but it cannot recover the exact letters or textures missing from the source.
The current Loova AI Video Enhancer accepts MP4, MOV, and WEBM uploads up to 200 MB. Its page lists 1080p, 2K, and 4K resolution choices, plus 30 or 60 FPS settings. Those are output options, not proof that every low-resolution label will become accurate.
Noise Reduction and Low-Light Cleanup
AI upscaling and denoising often work together, but their order matters. Reduce distracting grain first, then add only enough sharpness to restore readable edges. Sharpening noisy footage first can make every colored speck more visible.
Check cheeks, hair, fabric, and dark backgrounds afterward. Smooth skin may lose natural texture throughout the clip.
Stabilization and Motion-Blur Correction
Stabilization tracks camera movement and shifts or crops frames to reduce unwanted shake. Adobe’s Warp Stabilizer guidance also notes that clip and sequence dimensions must match unless the clip is nested.
Stabilization does not reliably restore detail smeared inside one frame. Heavy correction may bend walls, shelves, or product edges, especially when the subject crosses the camera.
Frame Interpolation and Smoother Motion
Frame interpolation creates new in-between images to change frame rate or produce smoother slow motion. It works best when movement is predictable and neighboring frames clearly show where objects are going.
Fast hands, loose hair, reflections, and overlapping products create harder guesses. Inspect those areas frame by frame before keeping a 60 FPS conversion.
Auto-Reframing for Vertical Platforms
Auto-reframing changes the aspect ratio while tracking the main subject. Adobe’s current Auto Reframe documentation warns that fast action or several points of interest may still require keyframe adjustments.
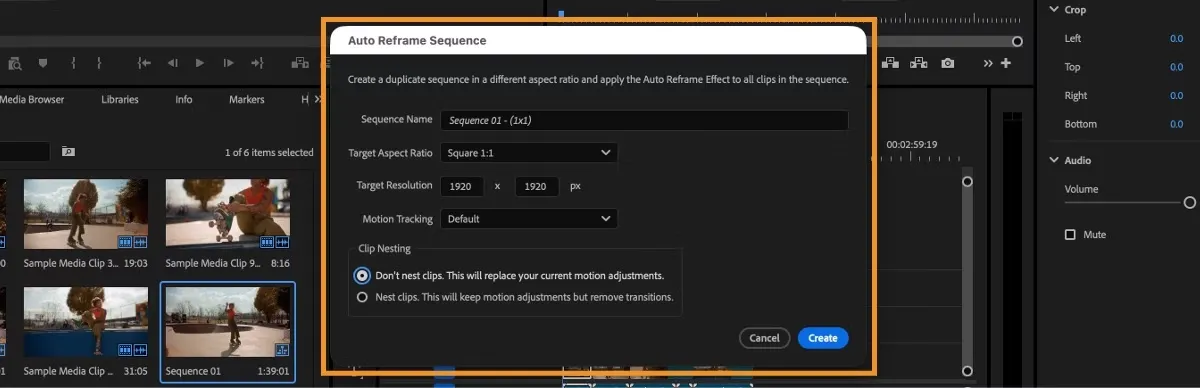
A face staying centered does not guarantee a useful vertical edit. Product demos also need the item, hands, price text, captions, and call to action inside the safe frame.
Audio Cleanup, Captions and Speech Clarity
Audio cleanup can reduce steady background noise and make speech easier to follow. Keep some room tone when aggressive processing makes the voice metallic, thin, or detached from the room.
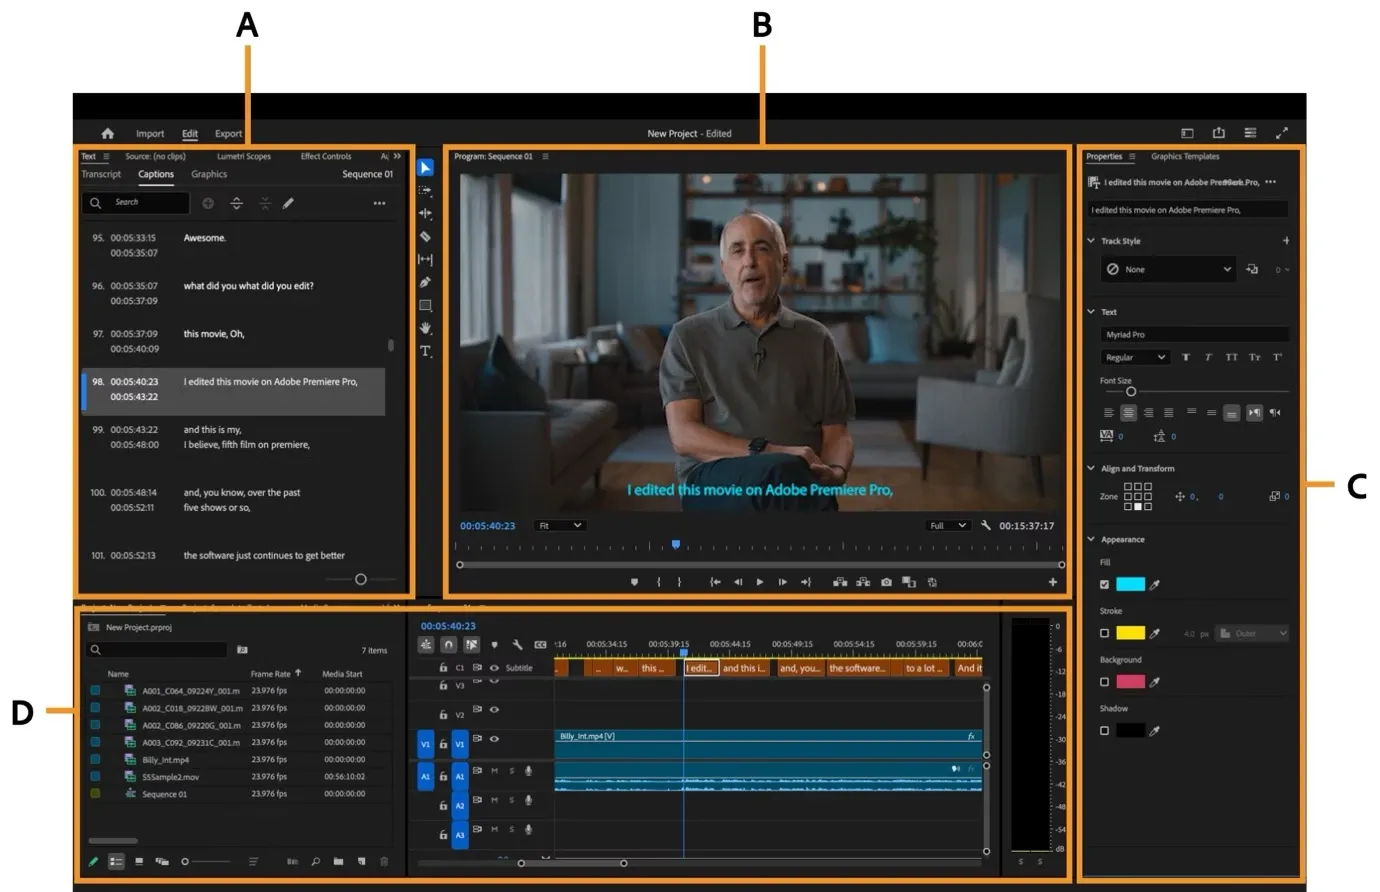
Captions belong late in the edit, after timing and dialogue are close to final. Adobe’s caption workflow creates an editable caption track from a transcript, which can then be reviewed before export.
A Step-by-Step UGC Enhancement Workflow
A short comparison keeps the source, correction, and delivery easy to trace.
- Save the untouched master. Keep the original file, resolution, frame rate, and audio track in a separate folder.
- Mark the real defects. Write down the timecode, visible symptom, affected subject, and intended platform.
- Choose one first correction. Fix the problem that most affects understanding, such as noisy speech or unreadable product detail.
- Test a representative section. Use a short area containing movement, a face, product text, shadows, and dialogue.
- Compare matching moments. Review the original and enhanced clip at the same size, speed, and frame.
- Finish the edit. Add reframing, captions, graphics, and final audio only after accepting the visual correction.
- Export a platform copy. Preserve the master and name the delivery file by platform, ratio, and version.
For a resolution or frame-rate test, open the browser-based video enhancer with the cleanest approved source. Only upload footage you may process, and keep confidential client or private personal material out of unapproved cloud workflows.
Common Enhancement Mistakes and Artifacts
Strong processing can replace one problem with another. Keep the control version beside the enhanced clip.
- Upscaling a compressed download: larger dimensions can preserve blocks and ringing instead of restoring the camera original.
- Denoising faces too heavily: pores, hair, and fabric may merge into smooth surfaces.
- Stabilizing intentional movement: a natural handheld shot may become cropped, elastic, or oddly static.
- Converting every clip to 60 FPS: extra frames may add warping without improving a normal-speed delivery.
- Sharpening product text aggressively: invented strokes can make a wrong label appear confidently readable.
- Burning captions in too early: later cuts can leave captions mistimed or covering the product.
Export and Human-Review Checklist
The enhanced master still needs a destination-screen check. Review it on a phone, with headphones, and without sound.
- The face and product remain consistent during motion.
- Labels, logos, and captions contain no invented or broken characters.
- Hands, hair, teeth, and reflective packaging do not warp between frames.
- Stabilization has not cropped out a demonstration or disclaimer.
- Speech remains synchronized and natural after cleanup.
- Captions are accurate, readable, and clear of interface overlays.
- The aspect ratio, frame rate, codec, and audio match the target platform.
Enhance one approved master
Open the Loova AI enhancement workspace, upload the clean source clip, and choose the output resolution and frame rate your delivery needs. Compare the same moving product detail before accepting the enhanced version.
Limits of AI Video Enhancement
Enhancement estimates what a cleaner frame or soundtrack might contain. It cannot verify obscured text, reconstruct a face hidden by motion, or recover clipped audio with factual certainty. A reshoot remains safer when exact product details, claims, or identity matter.
AI also cannot repair a weak demonstration, unclear hook, unsupported claim, or awkward performance. The best AI features for enhancing UGC video quality preserve what already works while making one technical weakness less distracting.
FAQ
Should I enhance UGC footage before or after adding captions?
Enhance the picture before burning in captions. Upscaling and sharpening may otherwise change their edges. Lock the edit, enhance the visual track, and then add the caption track.
Can AI fix blurry product details in a video?
It can improve mild softness and edge clarity. It cannot reliably recover details the camera never captured. Use a sharper source, approved product close-up, or reshoot when accuracy matters.
Why does frame smoothing make people look unnatural?
The system estimates movement between recorded frames. Hands crossing faces, loose hair, and motion blur leave several possible paths. Reduce interpolation or remove it from the difficult section.
What export settings work best for social media UGC?
Match the platform and placement rather than creating one universal file. A 1080 × 1920 H.264 video with AAC audio is a practical vertical baseline. Keep the source frame rate unless the motion was deliberately interpolated; YouTube’s current guidance also recommends uploading at the recorded frame rate. Review the uploaded preview because platform compression is the final unknown.