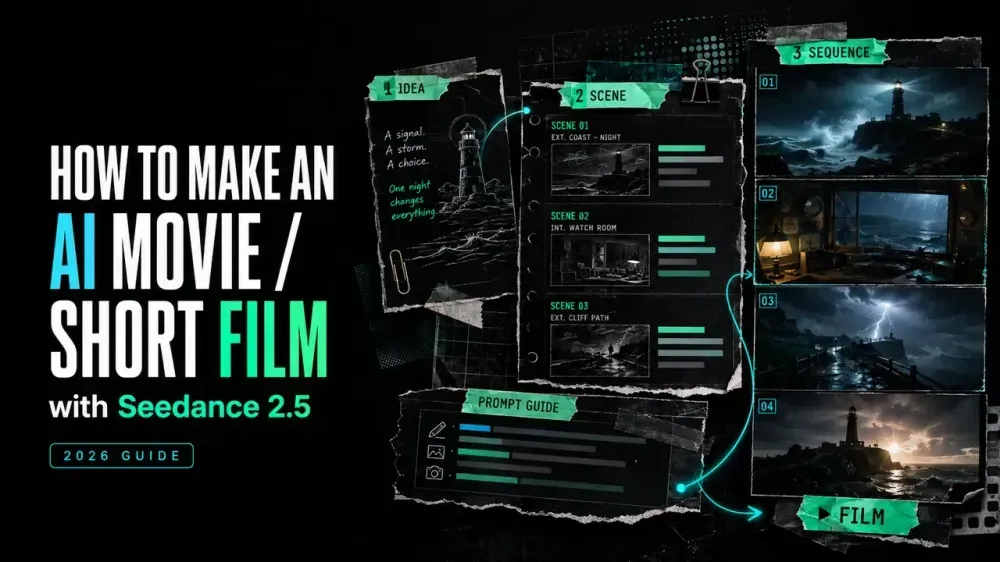
How to Make an AI Movie / Short Film with Seedance 2.5
On this page
A short film can open with a beautiful frame and still fall apart by the final cut. The character changes clothes, the room shifts shape, or one shot ends with an action the next shot forgets. To make an AI movie with Seedance 2.5, plan the sequence before generating the spectacle.
For this kind of project, I care less about producing one dramatic shot than making the same character, location, and visual rule survive across several clips. Seedance 2.5 can help with longer audio-video scenes and reference-led generation, but the film still needs a script, a shot plan, selected takes, and a final edit.
Plan a Short Film You Can Finish
Define the Story Length and Characters
Choose a premise that can unfold clearly within 30–60 seconds, such as a courier opening an impossible package or two friends missing the last train. Limit the cast to one or two characters who directly affect the scene.
For each recurring character, document the face, hairstyle, clothing, accessories, color palette, and starting emotional state that should remain consistent across shots. Only change these details when the story requires it.
Establish Visual and Continuity Rules
Create a small continuity sheet before writing prompts. It should cover:
- aspect ratio and approximate total duration;
- character appearance and wardrobe;
- location layout, time of day, and weather;
- color palette and lighting direction;
- recurring props and which hand holds them;
- the state in which each scene must begin and end.
Replace “cinematic” with a usable target such as “cold blue station light and restrained camera movement.” The final-frame state matters most: if the character exits left holding a red envelope, the next scene must begin from that fact.
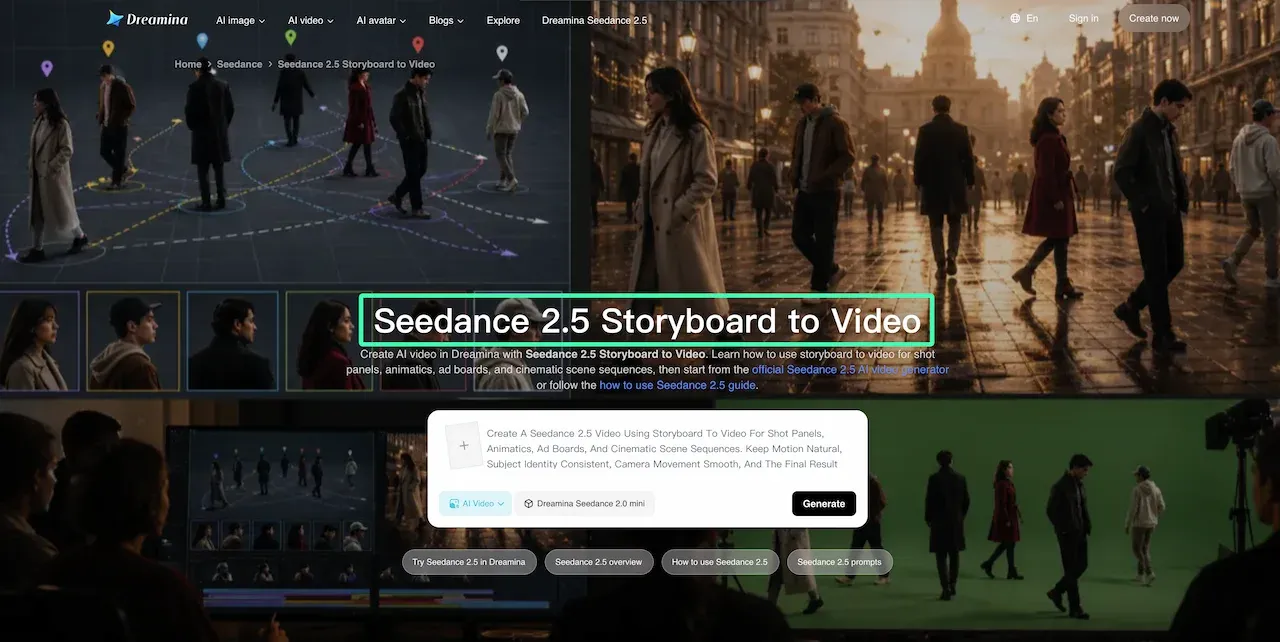
Turn the Script into a Shot Plan
Divide the Story into Scenes
Break the script when the location, time, or immediate goal changes. Give each shot one job: establish, reveal, react, or complete an action.
Use a compact production table:
| Shot | Duration | Story job | Start state | End state | Reference needed |
|---|---|---|---|---|---|
| 01 | 4s | Establish station | Character alone on platform | Train light appears | Character + location |
| 02 | 5s | Reveal envelope | Hands at sides | Red envelope opened | Character + prop |
| 03 | 4s | Show reaction | Looking down | Turns toward tracks | Character close-up |
If a shot has two story jobs, split it or simplify the action.
Prepare Character and Location References
Build a neutral character sheet with front, three-quarter, and side views, plus important clothing or props. Prepare a clean image for each location. Do not make one crowded collage define the actor, room, lighting, and camera movement.
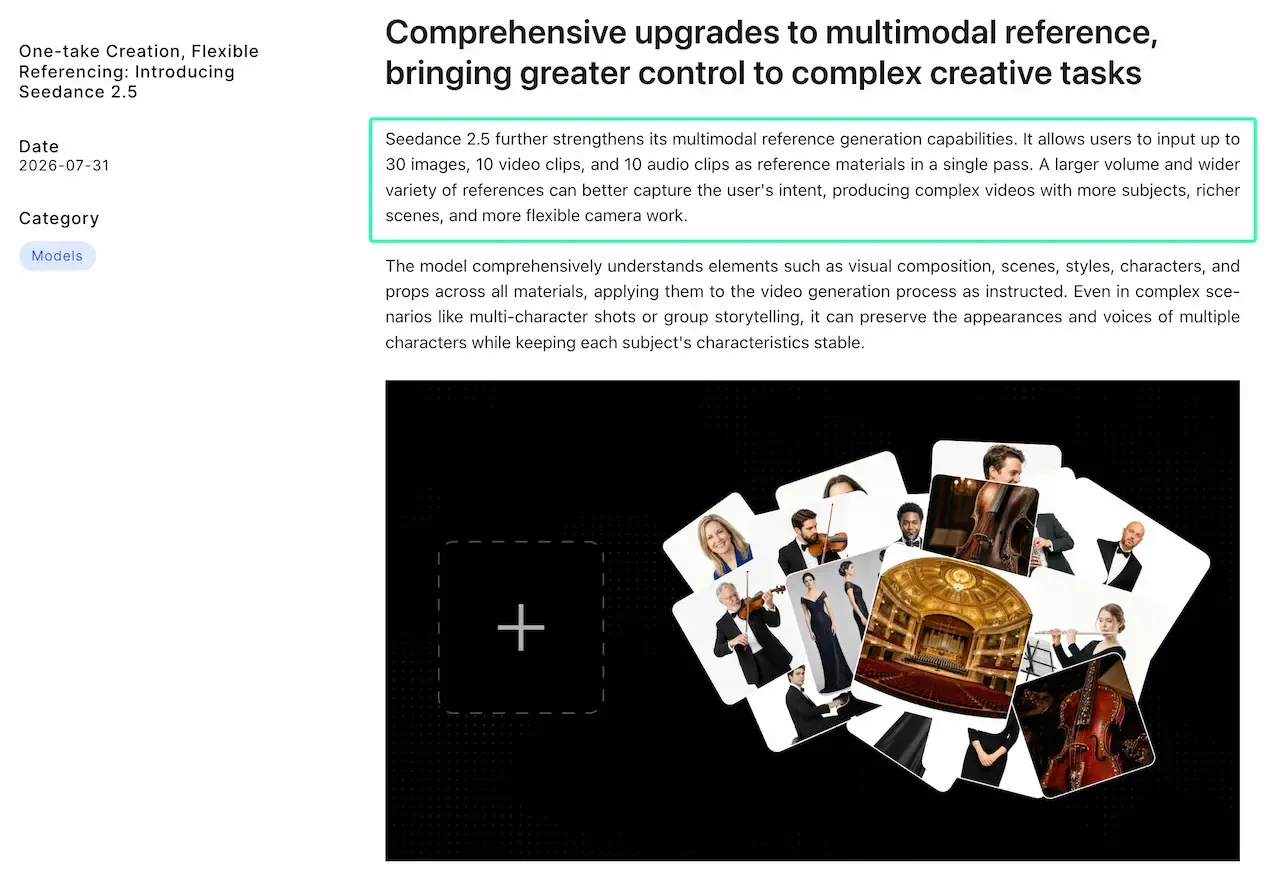
ByteDance’s Seedance 2.5 launch documentation says the model can accept up to 30 images, 10 videos, and 10 audio clips as references in one pass. Assign each reference one role; remove assets that introduce a conflicting face, costume, or style.
Create a Storyboard
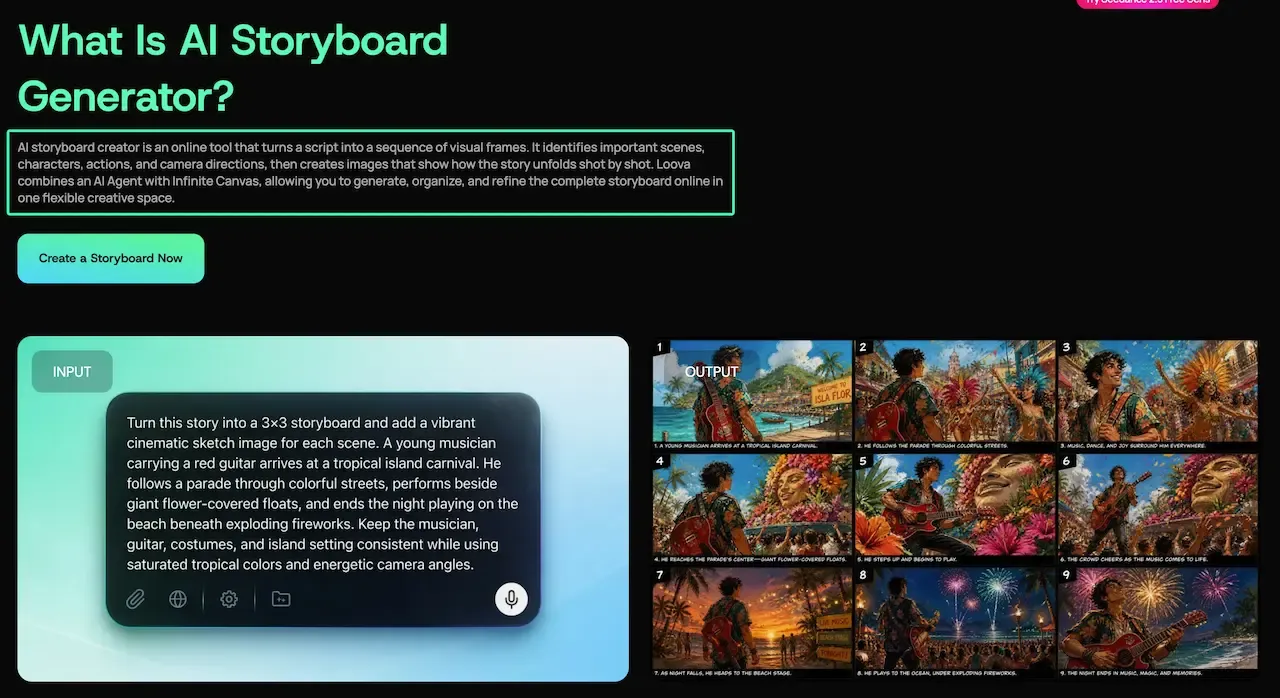
A storyboard exposes continuity problems before generation. Show framing, screen direction, character position, key props, and the end state carried into the next shot.
You can turn the script into organized storyboard frames and review the sequence before generating video. Replace a frame when its camera angle hides the action rather than rebuilding the whole board.
Generate the Film Scene by Scene
Write Time-Coded Shot Prompts
Write one prompt per shot or connected beat:
FORMAT: 16:9, 5 seconds, restrained cinematic realism
REFERENCES: @Character defines identity and wardrobe; @Station defines location
0–2s: Medium shot. The character waits beside an empty bench, facing right.
2–4s: A red envelope slides into frame. The character looks down but does not move.
4–5s: Slow push-in. End with the envelope beside the character's right shoe.
KEEP UNCHANGED: face, gray coat, station layout, red envelope
AUDIO: distant train hum, no dialogue
ByteDance describes up to 30-second audio-video clips and timestamp-level control. That does not mean every shot should last 30 seconds. Match the edit’s needed duration and end on a stable composition that can connect to the next clip.
Direct Dialogue and Sound
For dialogue, identify the speaker, exact line, delivery, timing, and ambience. If two people speak, state the order and include a reaction beat rather than combining overlapping dialogue, lip movement, and complex action.
Treat generated audio as a draft until you check pronunciation, sync, noise, and emotional continuity. Room tone can soften cuts; human-recorded dialogue can replace lines needing precise delivery.
Maintain Continuity Between Clips
Compare every accepted clip with the previous shot. Check face, wardrobe, prop position, gaze, screen direction, lighting, and camera height. Carry the accepted end state into the next prompt and, when supported, use that frame as a reference.
When a shot fails, fix identity before motion, motion before camera style, and style before decoration. A dramatic take is useless if it breaks the cut.
Assemble and Refine the Final Film
Select and Arrange the Takes
Place the strongest continuity take on the timeline before adding effects. Watch the rough cut without sound to reveal repeated framing, unclear action, and cuts that depend on dialogue.
Keep an alternate only when it solves a known problem. Status labels—SELECT, ALT, REJECT, REGEN—keep rejected files out of the final edit.
Add Audio, Titles and Final Edits
Trim pauses, normalize dialogue, add room tone, and replace temporary music with permitted audio. Add titles in the editor instead of expecting generated text to remain exact. Check the export at full size and on its destination device.
Use the storyboard as a final audit. The editable storyboard workspace keeps the intended shot order and visual plan available, making missing beats easier to spot.
Production Limitations and Rights Checks
Seedance 2.5 shortens the path from idea to footage but does not remove production judgment. Faces, hands, props, dialogue sync, text, and spatial continuity may drift. A conventional shoot may be more efficient when exact action or factual evidence is essential.
Use only scripts, designs, images, voices, music, logos, and footage you have permission to use. Get consent before recreating an identifiable person or voice, exclude unnecessary confidential material, and label AI-generated fiction when missing context could mislead. Generation does not clear every right attached to an asset.
FAQ
How Many Seedance Clips Are Typically Needed for a 30–60 Second Short Film?
Plan roughly 6–12 selected clips when shots average 4–6 seconds. A montage may need 15 or more; a long take may need fewer. This is an editing estimate, not a model limit, and excludes alternate takes or continuity repairs.
Can I Import Seedance Clips Directly into CapCut, Premiere or DaVinci?
Usually, yes—download the video and import it as source footage. This transfers a rendered clip, not a Seedance project or editable timeline. If rejected, transcode a copy to broadly supported MP4/H.264 while preserving the original.
How Should I Name and Organize Multiple Takes to Keep Continuity?
Use film_scene-shot_take_status, such as station_02-03_T04_SELECT. Store the prompt, assigned references, settings, and a still of the accepted final frame beside that take. This makes the next shot’s starting state traceable and prevents rejected versions from returning during the edit.
Can I Add or Replace Human-Recorded Dialogue After Generation?
Yes. Record or import the replacement line, align it to the picture, then adjust timing, room tone, and the surrounding mix. If visible lips no longer match, shorten the line, cut to a reaction or insert shot, or use an authorized lip-sync workflow rather than forcing the original close-up to carry the replacement.
To make an AI movie with Seedance 2.5, the last review should return to the first plan: does every cut preserve the character, action, and story beat it was meant to carry? Fix the weakest handoff before adding another effect. That one pass will do more for the film than an extra disconnected shot.
Build the Shot Plan Before the First Generation
Open the Loova AI Storyboard Generator, paste a short script, and turn it into a scene-by-scene visual plan. Refine the frames until each shot has a clear start and end state, then use the approved board to guide your Seedance 2.5 generations.