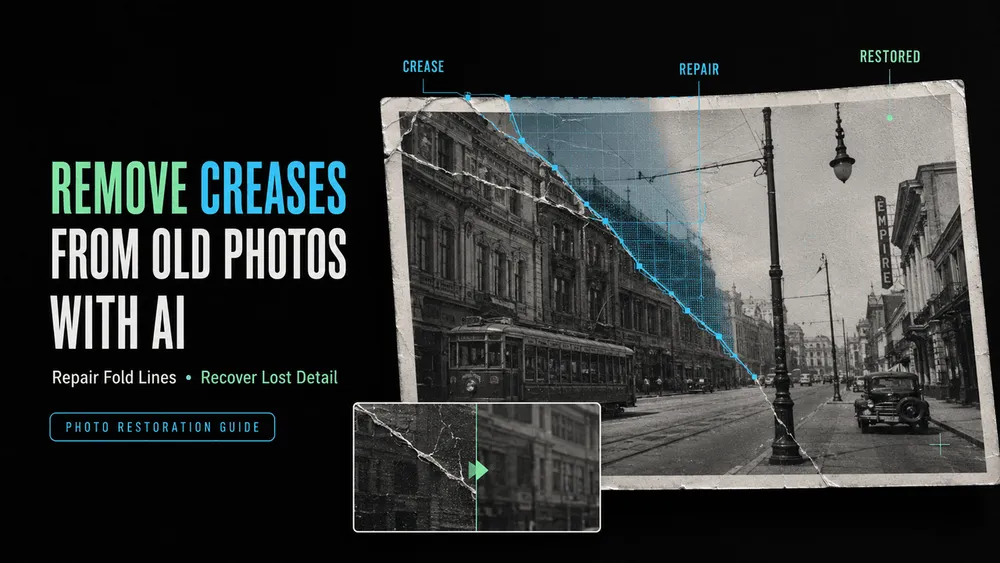
Remove Creases from Old Photos with AI
On this page
Some creases are much easier to repair than others. A mark across a plain wall can often be blended into the surrounding texture. A crease running through an eye, handwritten date, or patterned dress is harder. The AI has to reconstruct detail with fewer reliable visual clues. The result can look convincing and still be historically inaccurate.
If you want to remove creases from old photos with AI, begin with an untouched scan. Repair the damage in small sections. Treat reconstructed faces and text as approximations, since the original detail is no longer visible. Keep the restored version as a working copy, and preserve the original scan as your record.
What AI Can and Cannot Repair in an Old Photo
AI restoration works best on narrow creases, dust, surface scratches, moderate fading, and small gaps. It needs enough detail around the damage to guide the repair.
The current Loova AI Photo Editor offers a Restore Photo option. Its product page lists scratch removal, sharpening, and facial-detail enhancement. These are intended functions, not a guarantee that generated details match the original scene.

Large missing sections are harder. A model may produce a plausible ear, badge, sign, or wallpaper pattern, but plausibility is not historical evidence. When little source detail remains, more of the restored copy is interpretation.
How to Scan and Prepare the Original Photo
Examine the print before scanning. A curled or cracked photo can suffer more damage if forced flat. Flaking and album-bound photos may need a conservator or careful camera capture. Include the border so notes and the extent of damage remain documented.
The U.S. National Archives uses at least 400 ppi for fine-detail photographic prints. For home restoration, 400 ppi at the original size is a useful baseline. A tiny print or planned crop may need more. Scan in color when paper tone or stains matter, and turn off automatic restoration.
Old family or client photos may contain identifiable people, private notes, or sensitive details. Only upload images you have permission to use, and keep confidential or sensitive material offline.
How to Remove Creases from an Old Photo with AI
Work from a duplicate and solve one type of damage at a time. This makes each change easier to compare. It also reduces the risk that a broad “restore everything” request alters faces, clothing, or background objects.
Save an Untouched Archival Copy
Keep the original scan unedited and create a working file. Names such as family-photo_master, family-photo_repair-01, and family-photo_color-optional separate evidence from interpretation.
Remove Creases, Scratches, and Dust
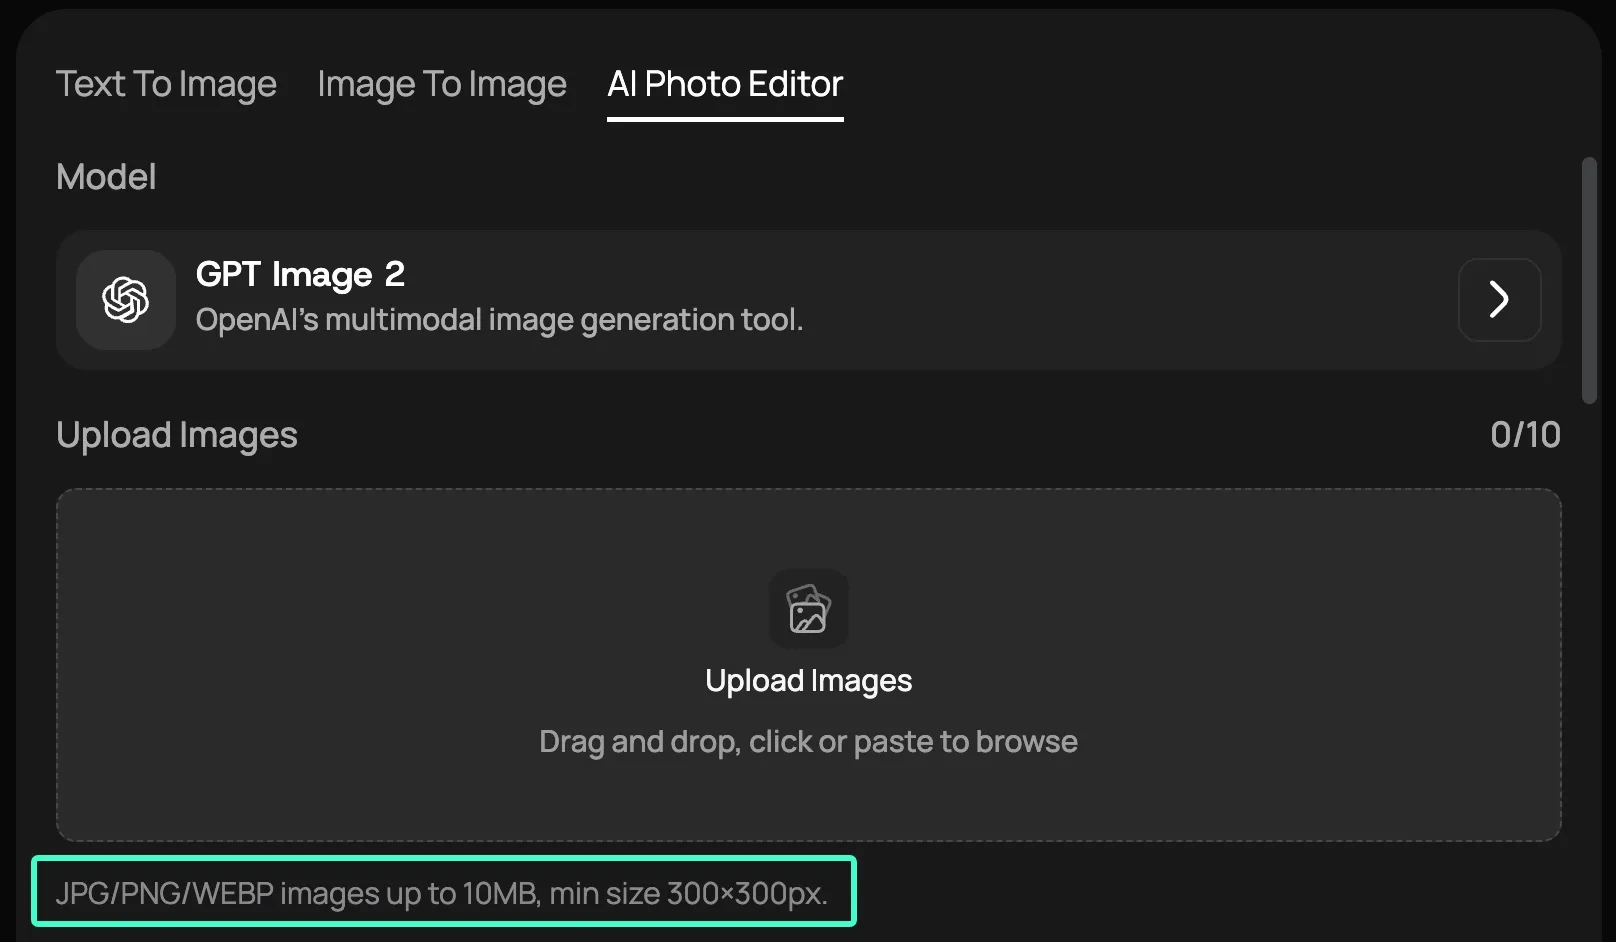
The current AI photo restoration workspace accepts JPG, PNG, and WEBP files up to 10 MB. Each image must be at least 300 × 300 pixels. Upload the working copy and describe the damage by location instead of asking for a general makeover.
Repair the narrow crease across the lower-right background and coat sleeve.
Remove small dust spots and surface scratches.
Preserve the face, hands, clothing seams, handwritten caption, crop,
and original monochrome tone. Do not colorize or add new objects.
Compare the result at 100% with the untouched scan. If a face or lettering changed, return to the working copy and narrow the repair area.
Rebuild Small Missing Areas
Repeating sky, wall, or fabric textures are easier to infer than unique details. Repair one gap at a time and inspect where generated pixels meet the scan.
A missing face, emblem, or line of text should remain uncertain unless another authenticated photograph supplies the detail.
Restore Tone or Color Carefully
Correct contrast, brightness, and uneven fading before colorization. A black-and-white photograph does not contain its original colors, so color is interpretive. Save that version separately from the monochrome restoration.
Upscale and Export the Final Image

Repair damage before enlargement because upscaling can emphasize scratches and artifacts. The editor also lists an upscale option, but final dimensions should follow the intended screen or print size.
Export a high-quality restored master, then make smaller sharing copies from it.
How to Preserve Faces and Historical Authenticity
Faces need the strictest comparison because changes to eyes, mouth, hairline, or expression can alter identity. Keep them outside the repair area when possible. If a crease crosses a facial landmark, compare a few restrained versions. Leave some damage visible if no source supports a full reconstruction.

The same care applies to names, uniforms, signs, architecture, and dated objects. Record what was repaired, rebuilt, colorized, or upscaled so viewers can distinguish the scan from later interpretation.
A Complete Photo Restoration Example
Consider a 4 × 6-inch monochrome portrait scanned at 400 ppi. A diagonal crease crosses the studio background and one coat sleeve, while the face and handwritten date remain intact. Four passes remove dust, repair the background, rebuild the sleeve from nearby fabric, and adjust the tone.
The face, date, crop, and monochrome master stay unchanged. Only upload a scan you are authorized to use. Then open the Loova AI Photo Editor, submit the working copy, and start with the smallest repair area. Compare the download with the master before requesting another change.
When Manual Retouching Is Still Necessary
Manual retouching is better when damage covers a face, text, unique object, or much of the composition. It also helps when AI keeps changing identity or texture.
A brittle, moldy, or flaking print needs extra care. If it is stuck to glass or historically valuable, consult a photograph conservator before scanning or cleaning.
FAQ
Can AI repair a photo with missing sections?
AI can fill small gaps when nearby texture offers a strong pattern. AI must invent more detail in larger gaps. A completed face, hand, sign, or object can look convincing while still being inaccurate. Keep the untouched scan and note substantial reconstruction.
Should I remove creases before colorizing the photo?
Yes. Repair creases, scratches, and missing grayscale detail first, then correct the tone. Colorization adds another inference layer and can hide whether an odd edge came from repair or added color. Save it separately from the original scan and monochrome restoration.
Why did the AI change a person’s face?
A crease, blur, or low-resolution scan may leave too little facial information to preserve. The model then supplies a plausible face. Limit the repair region and compare the result at 100%. Use another authenticated photo only if it shows the same person.
What resolution should I use when scanning an old photo?
For a fine-detail photographic print, 400 ppi at the original size is a practical baseline. U.S. National Archives digitization requirements support this setting. Small prints, severe crops, and large reproductions may need a higher setting. Still, optical resolution and clean tonal capture matter more than a scanner’s interpolated resolution.
The crease may disappear from the restored copy, but the untouched scan should remain beside it. One image is for viewing; the other preserves the evidence that AI was never able to recover.